Art Curriculum Ideas for Week of 3/18
Hi friends, hope everyone is doing well! I miss you all so much. I’m thankful for this outlet to stay connected. I will email everyone once I make updates to blog, which will be more often than before. I have lots of ideas and resources to share with you all, but will space it out as to not overwhelm. It seems we will have lots of time to learn at a cozy pace. Stay positive and take advantage of every opportunity to be creative.
Links:
Virtual museum tours ⬆️
https://www.google.com/amp/s/www.thrillist.com/amphtml/news/nation/virtual-museum-tours
Cosmic kids yoga YouTube
https://m.youtube.com/user/CosmicKidsYoga
Stories read by famous actors
https://www.storylineonline.net/library/
Ideas:
Make your own gratitude sheet!
Divide your sheet of paper into 8 squares (you can fold paper up into sections or use a ruler to help figure out dividing dimensions)
If you have folded your sheet of paper, unfold and go over the folded lines with marker or colored pencil. Oil pastels or crayons or anything you have work great too!
Everyday, fill in a section with pictures or words expressing what you’re thankful for!
I encourage the whole family to make their own gratitude sheet! It’s a sweet practice to count your blessings, but to express it with pictures and color makes it more fun.
Cardboard cat loom!
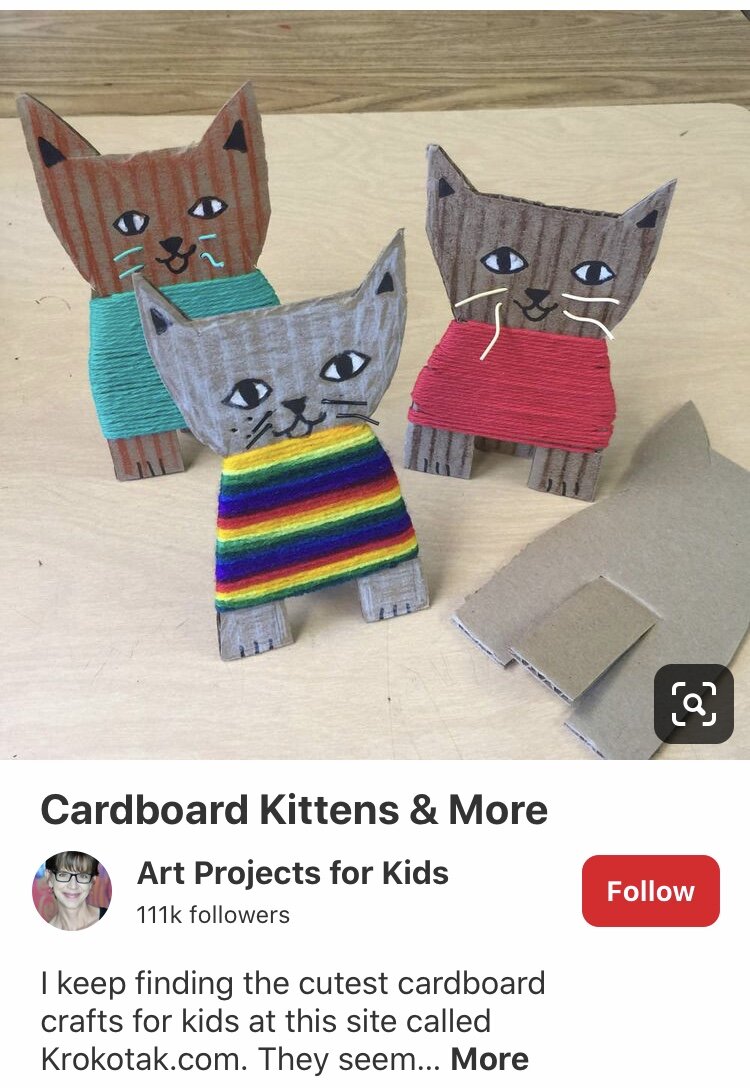
These cats can be cut out of any cardboard you may have in the house already. Try your best to draw out cat shape (any size will do!) on the cardboard. Notice in the picture how to cut two slits to help cat stand. Before adding textiles for the sweater, draw cat face on with markers, crayons or any art materials you may have. Let your child begin with pencil first, then trace with color of choice. Now is the time to add the “sweater”. The kids are welcome to use anything you may have in the house already. Be creative! Yarn, embroidery floss, cut up fabric into thin strips. Wrap around the cat. Using tape or glue to secure sweater on the back. Add anything else to your cat! Accessories, jewelry, a collar….make a cat family! And for the whiskers….hmmmm, be creative! Pole holes and thread string or wire or just draw them on. Please only use items found at home. Enjoy your creative process. Meow
Art packet:
In the art packet I created for kids, you’ll find a few handouts of coloring pages and my favorite: Helping Matilda finish her drawings worksheet. Impromptu drawings are a fun way to get creative juices flowing. Parents: you can make these up everyday! It would be fun to take turns with your child setting up an impromptu drawing for each other….perhaps even on the same canvas!
Another handout is a coloring page of a tree by Gustav Klimt. Enjoy this little YouTube video on closeups of his work for inspiration!
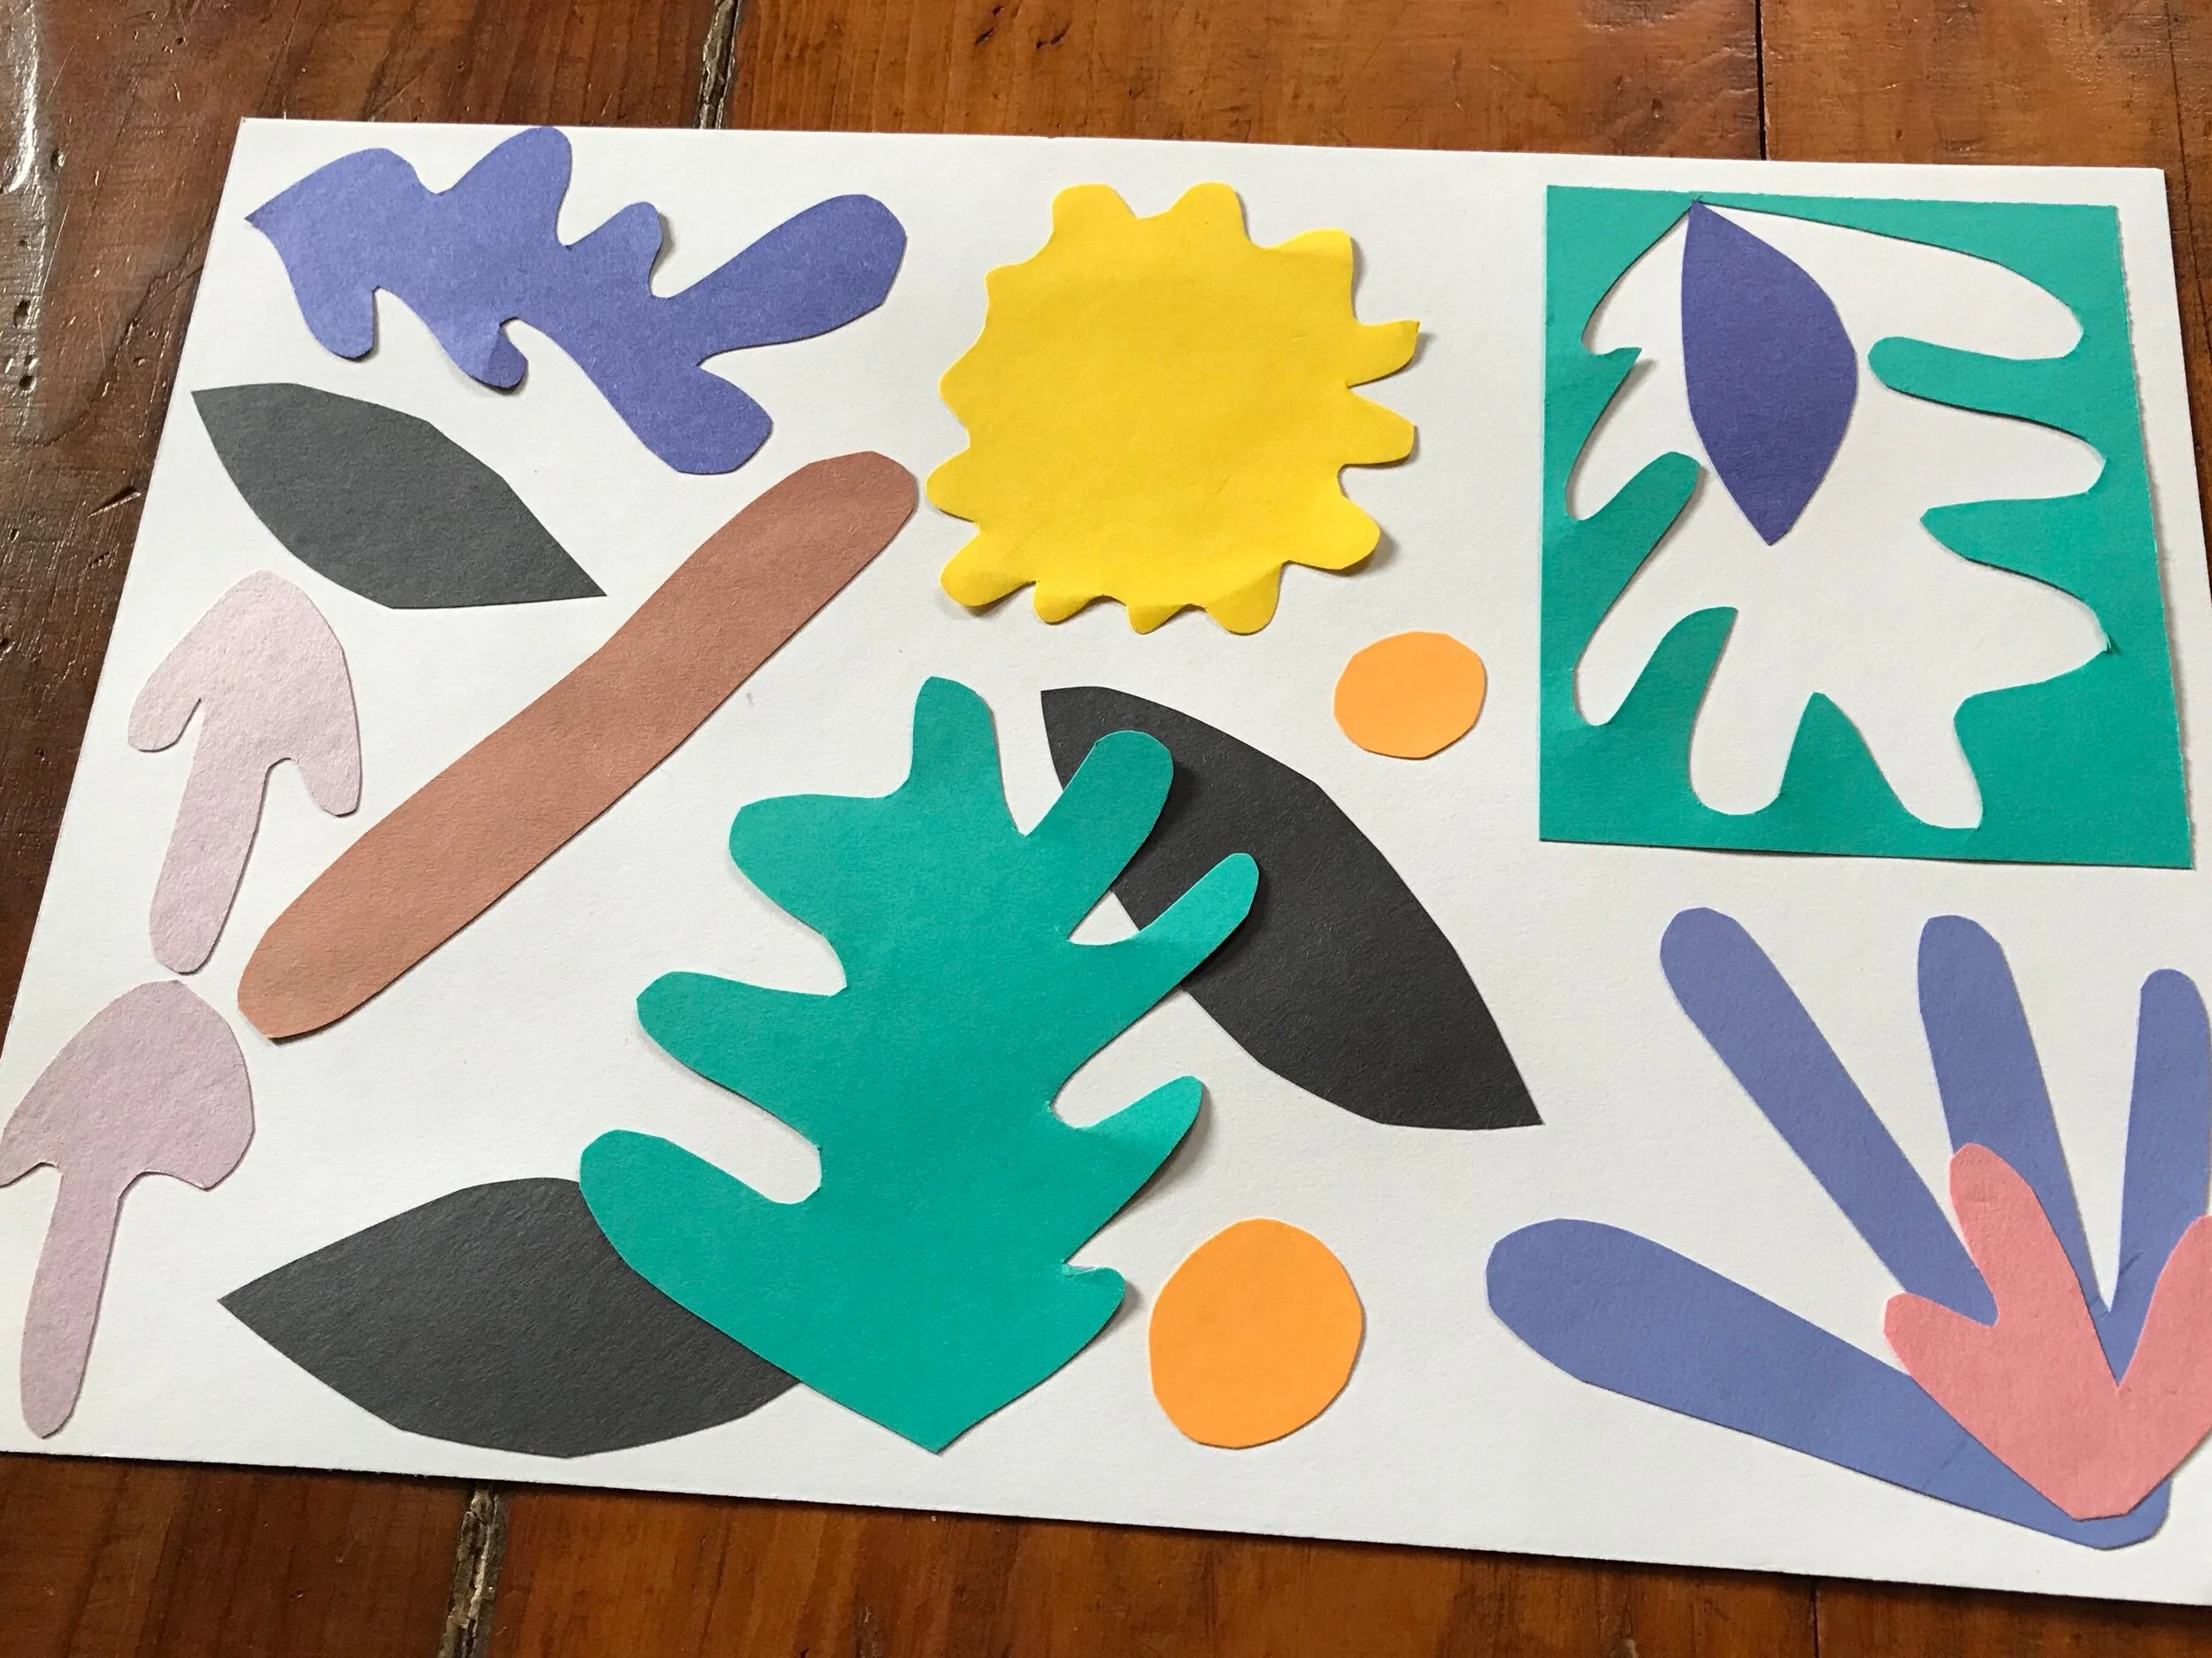
Matisse paper cut out project
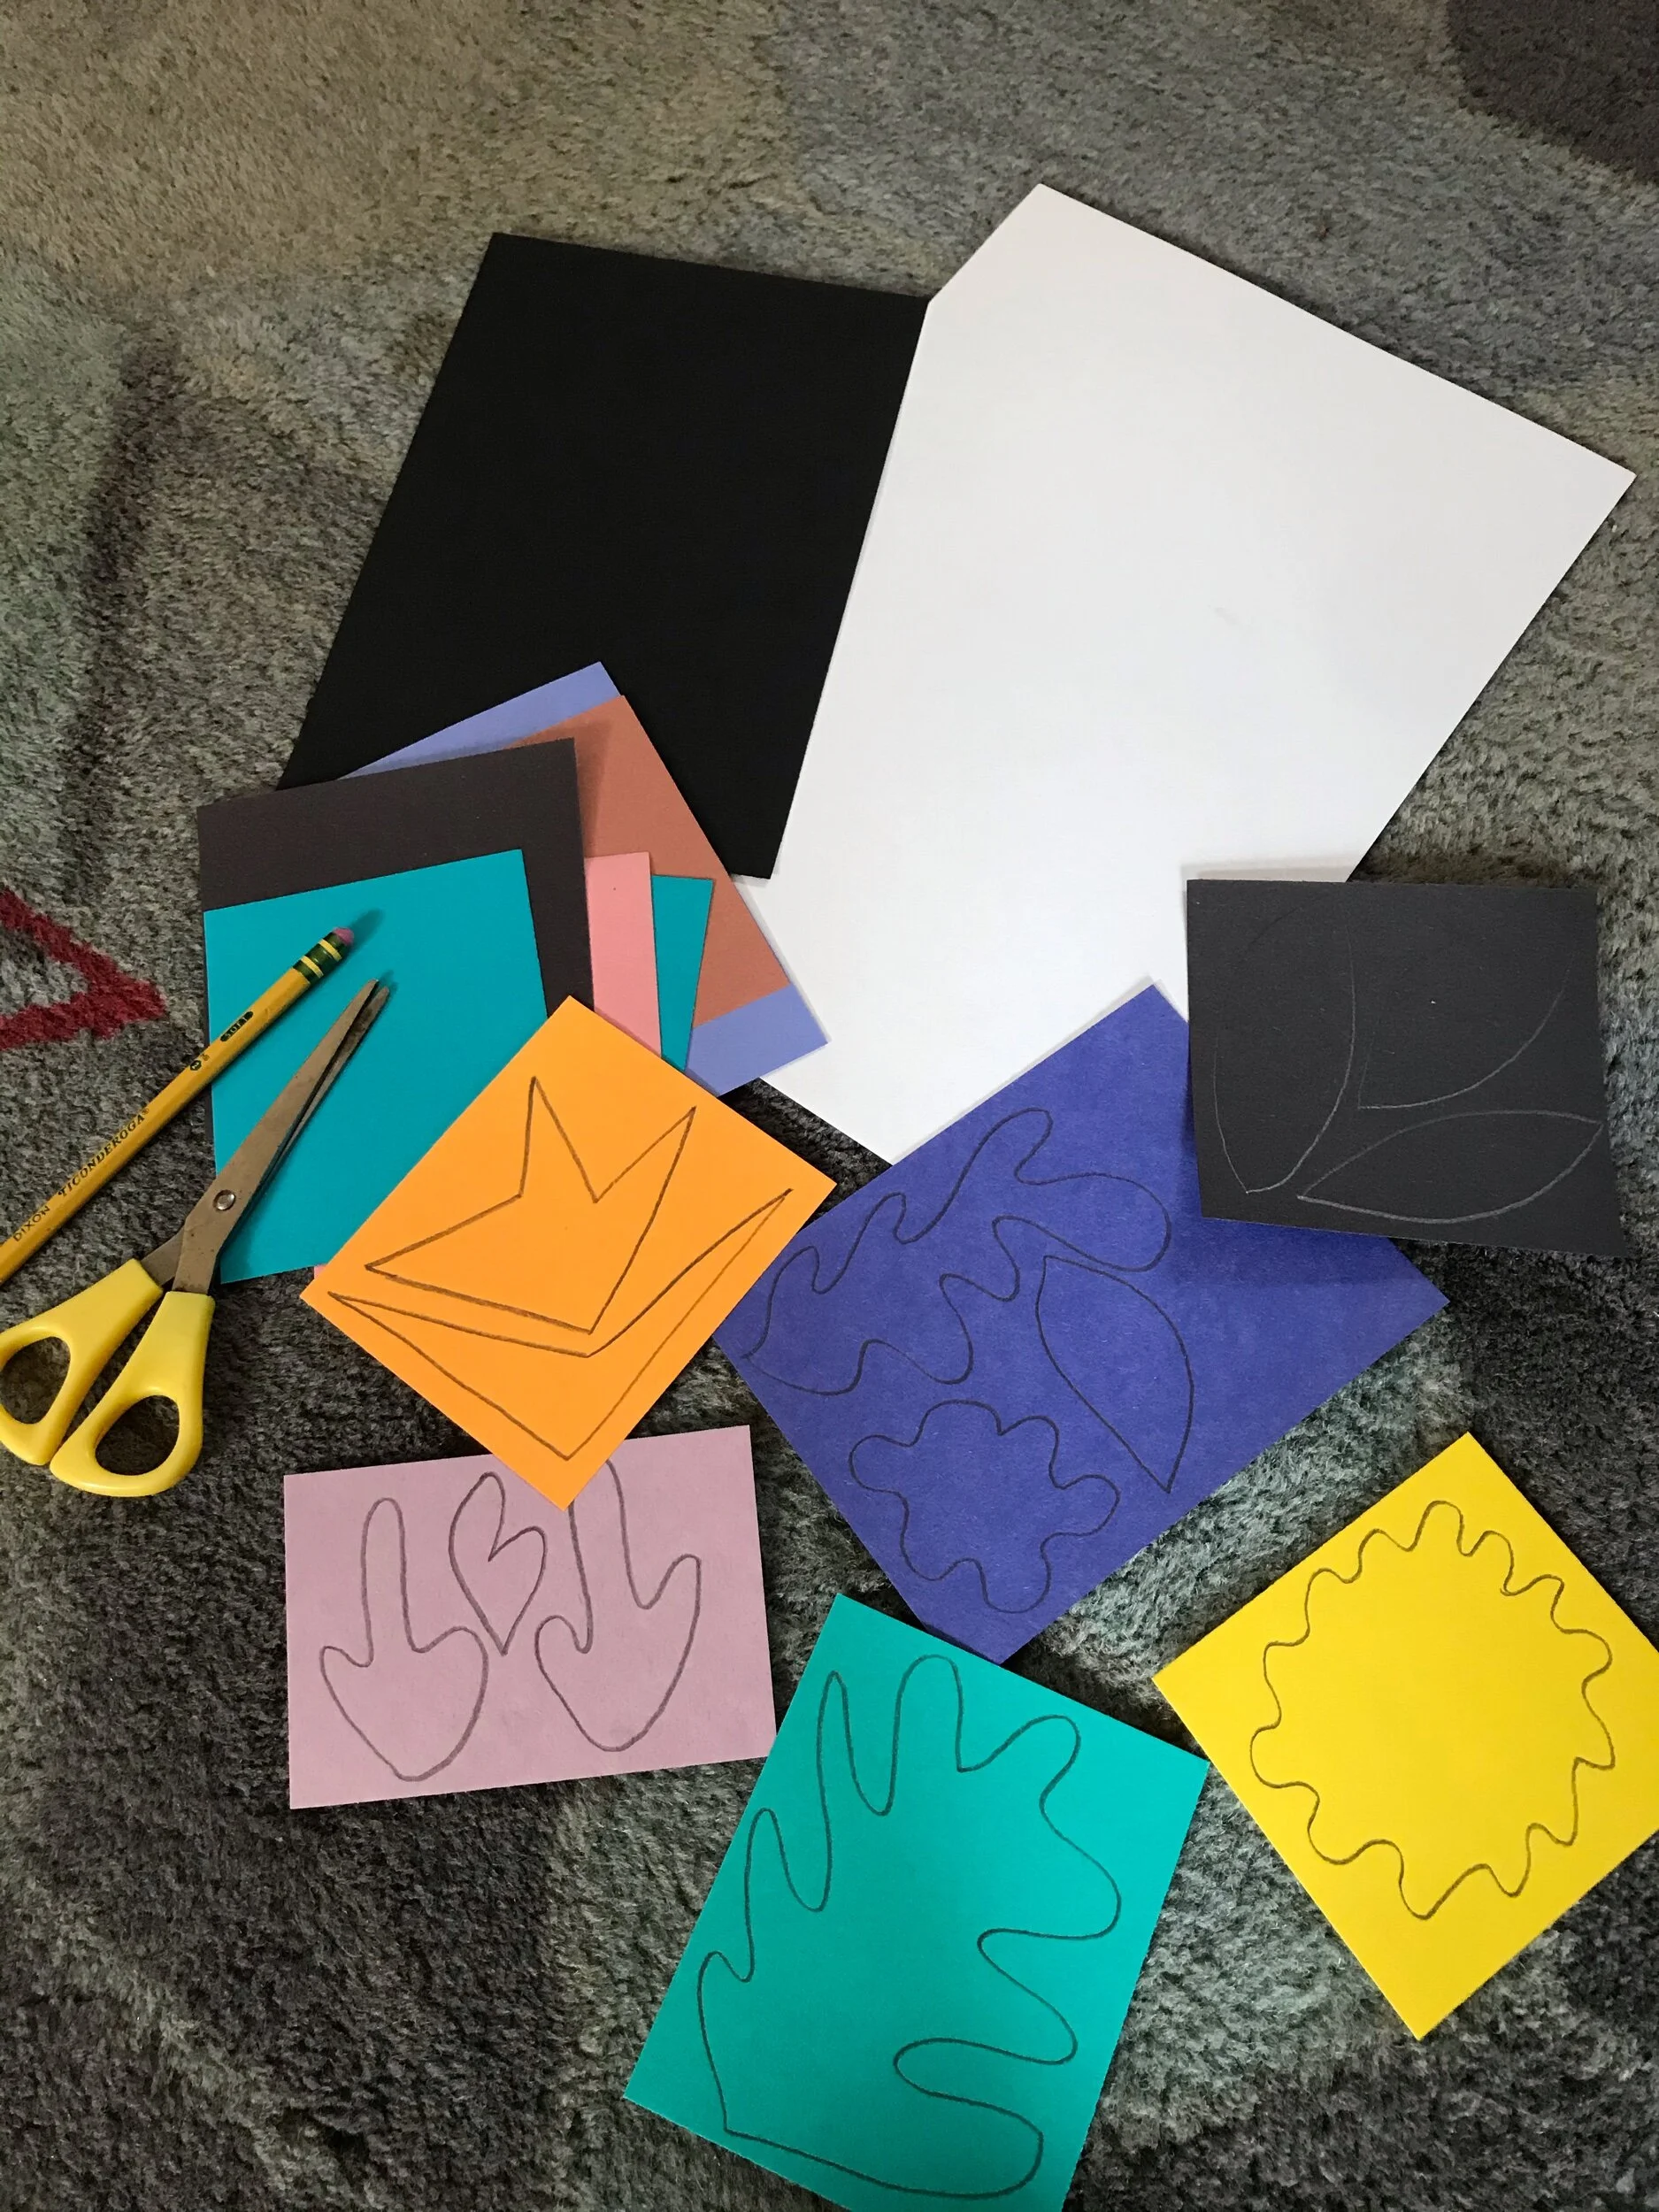
you’ll need:
scissors
pencil
glue
cut out colored paper and white sheet of paper (provided in packet)
Feel free to watch this short animation called “Art with Mati and Dada” on Henri Matisse. Also, to view images of his work, google image search: Matisse paper cut out.
Now it’s time to create!
With the colored pieces of paper, draw shapes with your pencil. Create your own shapes! Cut out shapes that remind you of nature or things around your house. Cut out shapes, big and small. Don’t feel limited to 6 shapes from the 6 squares of paper I provided….how many shapes can you cut out total?
Arrange the shapes you have cut out on white sheet before you glue them on. Keep in mind that the shapes can touch, overlap or be arranged in a way that you can see all your shapes. Play around with the possibilities! Once you are pleased with your arrangement, glue shapes in place. Remember to put glue on shape and then onto the paper.
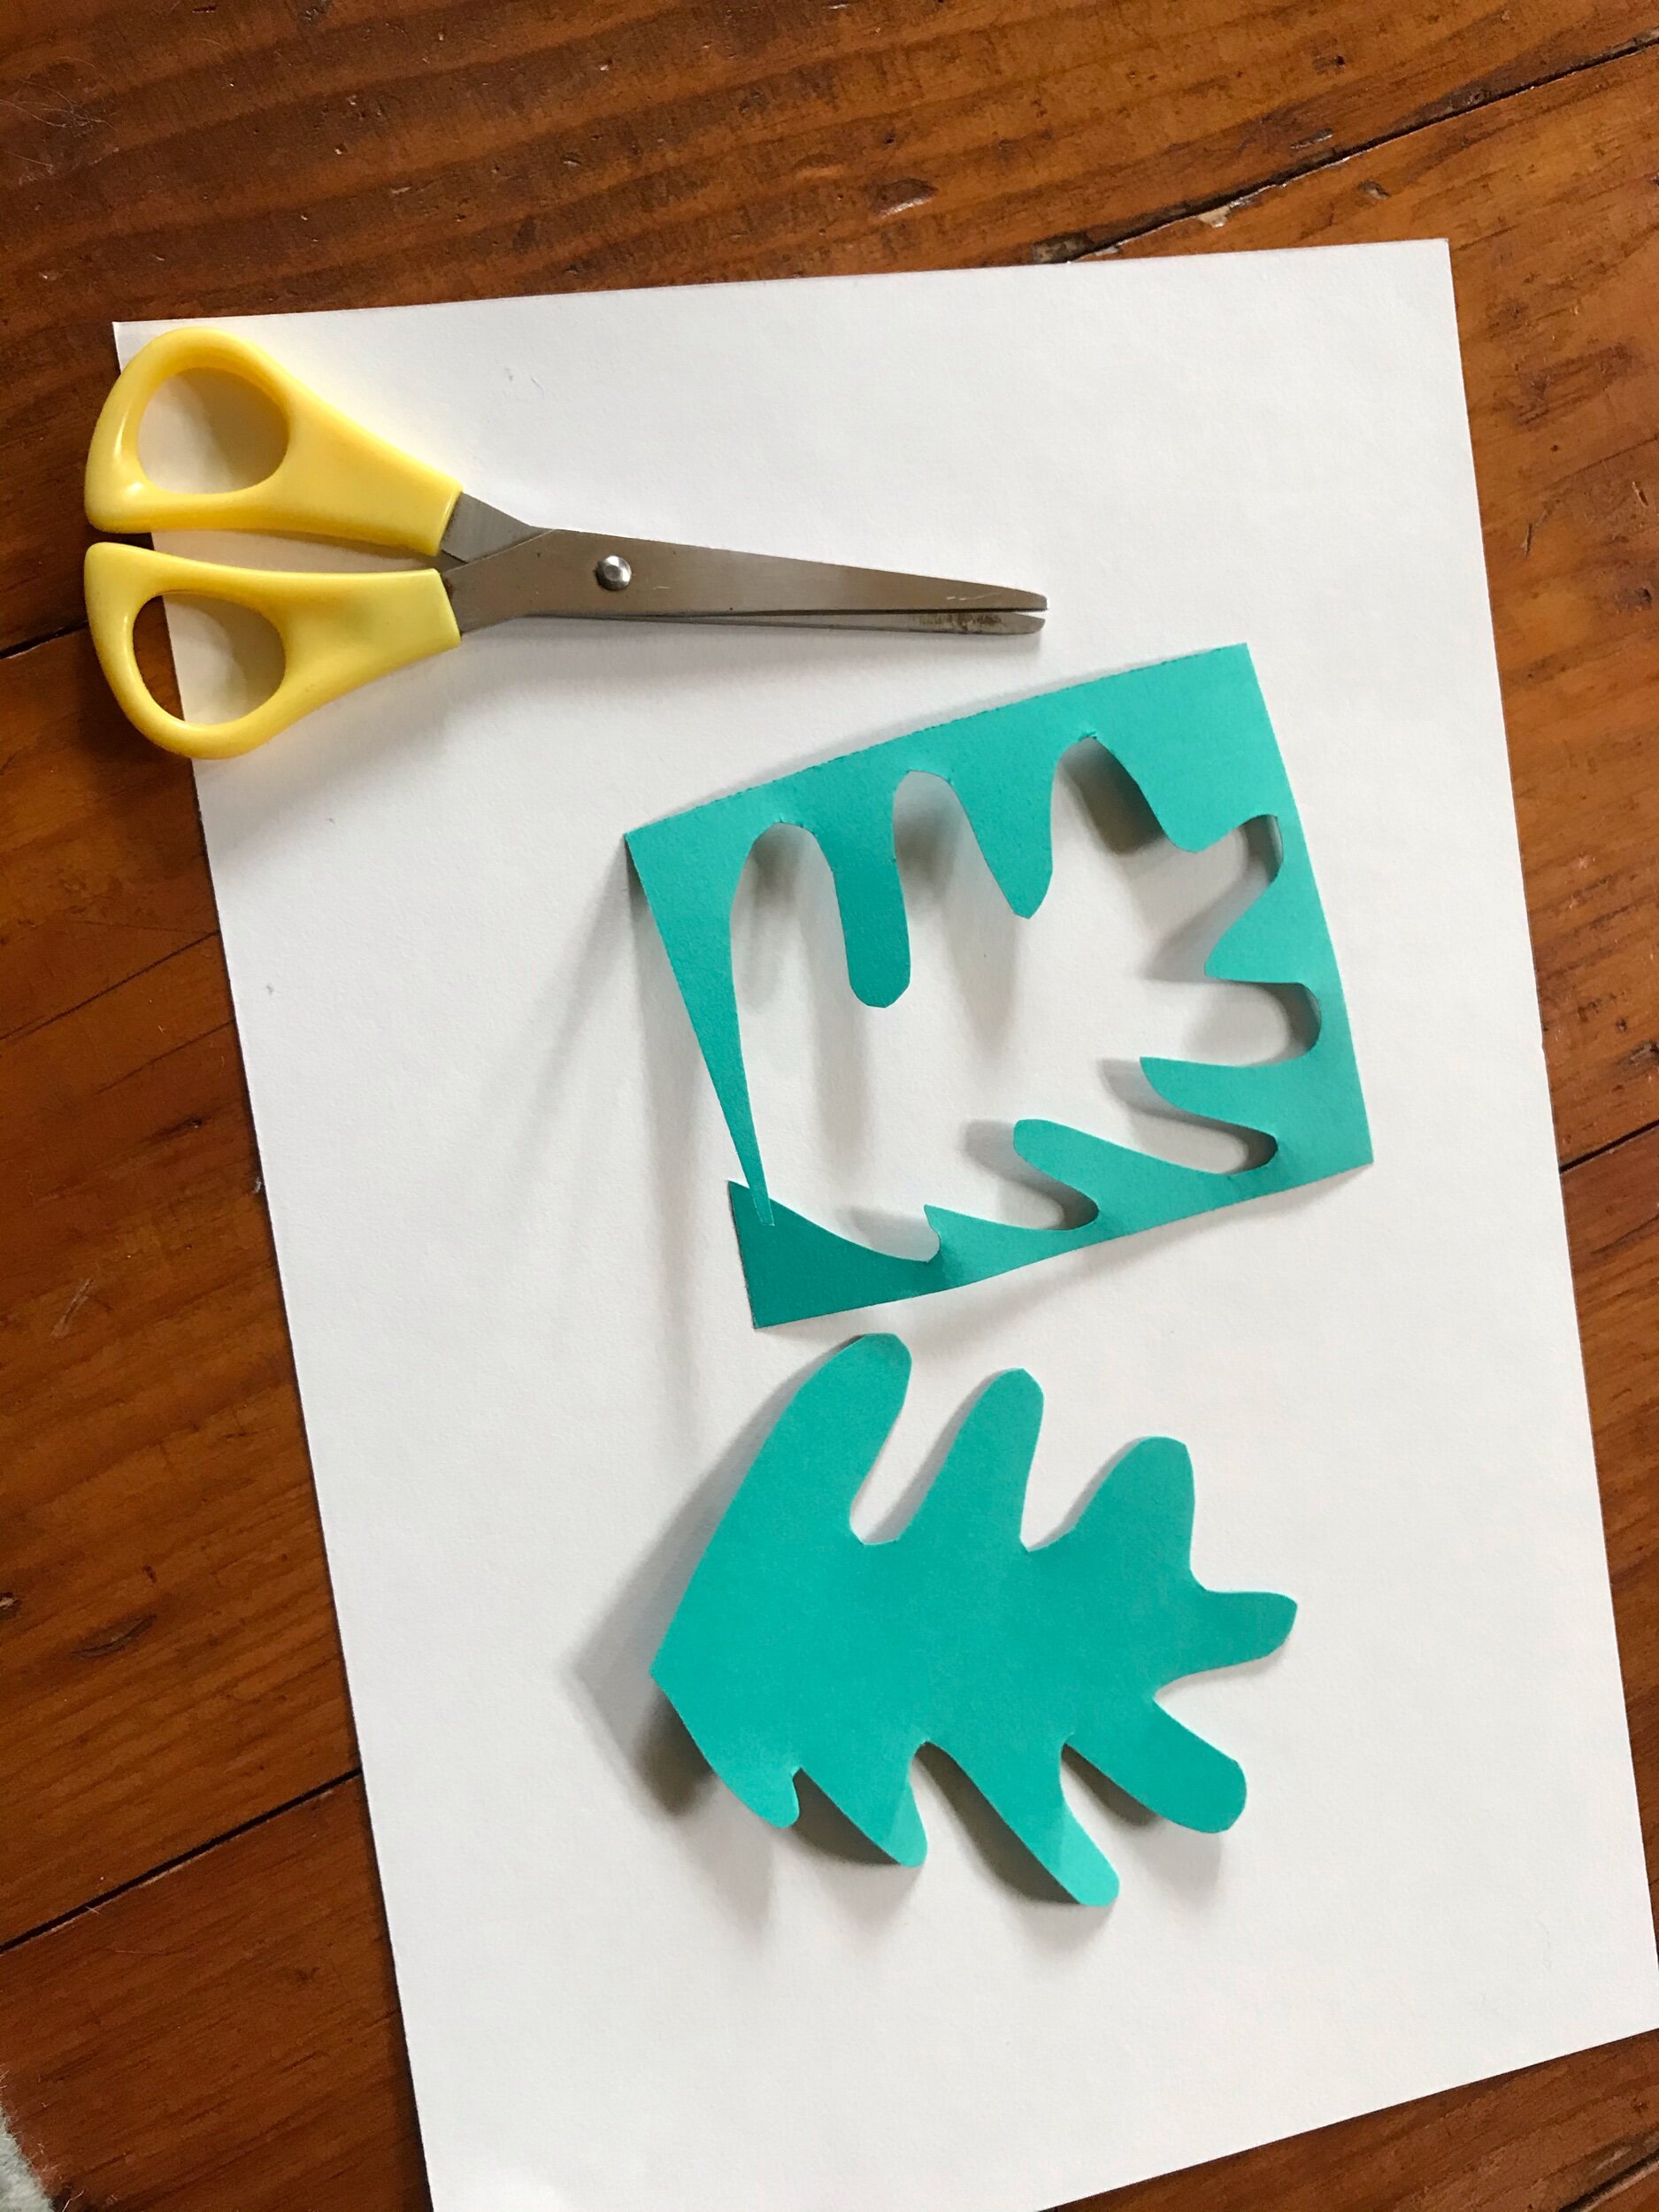
Can you use the negative space of paper leftover from your cut shape? Yes!!!!